Order an anvil, and let the sparks fly.
Gear-obsessed editors choose every product we review. We may earn commission if you buy from a link. Why Trust Us? Bricks Cement
POP Projects is a collection of new and classic projects from more than a century of Popular Mechanics. Master skills, get tool recommendations, and, most importantly, build something of your very own.
If you want to work with metal, there’s one thing you have to confront: You need heat. With it, you can make the toughest metal submit to your will. Without it, you’ll never gain full mastery over this stubborn material.
Over the years, I have been frustrated by my inability to work hot steel. I’ve bolted metal together, welded it and soldered it. But I couldn’t shape it, and so large swaths of the mechanical realm were off-limits to me.
But blacksmithing never felt alien. My father is a metallurgist, descended from generations of 19th-century blacksmiths and born in Germany to shipbuilders whose forges scattered sparks over the shores of the Elbe River and the North Sea. I grew up in rural Connecticut among Yankee mechanics who could forge anything, machine anything, build anything, fix anything—and I’ve been trying to live up to those old-timers’ standards all my life. It wasn’t a hard decision to take another step, and teach myself some blacksmithing skills.
Maybe it’s because our smokestack industries are in decline that a rising number of Americans feel the need to get their metalworking fix in home workshops. The Artist-Blacksmith’s Association of North America counts a membership of 4000 hobbyists and professionals. Some people estimate there are more blacksmiths in this country today than there were during the 1800s. And you don’t have to poke around long to find dozens of Web sites offering friendly—even passionate—advice from artisans, along with equipment ranging from anvils and tongs to air-driven power hammers.
First, I needed a forge. I considered buying a gas-powered model, but the fact was that I wanted to build my own. So I settled on a design that can be executed in an afternoon using parts purchased at a home center, a masonry supply yard and an auto parts store. The forge would burn coal, rather than gas, to make things simpler. And the design had another virtue, at least as far as I was concerned. It was based on plans published in Popular Mechanics in July 1941.
I enlisted the help of Mike Allen, former senior auto editor for Popular Mechanics and a crack metalworker. He glanced at the old plans and said, "Sure, we can build this." Within days, Mike’s house and the shop behind it swirled with activity as the UPS guy delivered in rapid succession a 275-pound anvil, tools, materials and four 50-pound boxes of blacksmith’s coal shipped from Pennsylvania.
Once the supplies were in, we set to work building the forge, beginning with its stand. I cut steel parts and handed them off to Mike, who laid them out on the shop floor, clamped them together and temporarily tack-welded them with small globs of steel.
With the stand tacked, he flipped up his mask and handed me the welding gun: "You take it from here." I slid on a mask and picked up where he’d left off. As I worked, Mike crouched over my shoulder and fired off bits of advice. "Get more weld metal on the vertical surfaces," he said. "You’re getting too much spatter; reduce your travel speed and your electrode stick-out." When I found it difficult to see through the welding glare and smoke, he said, "Deal with it. Look at the weld puddle, not the arc." I learned more about welding in that half hour than I had in years of fooling around on my own.
Forge: A two-basin stainless-steel sink serves as the center of our blacksmithing setup. One basin is filled with water, forming a quench tank. The other is lined with furnace cement, then covered with firebricks laid in place without mortar. A cast-iron floor-drain cover laid over the sink’s drain forms the tuyère, the port where a blast of air (supplied by a shop vacuum) enters the coal bed from below.
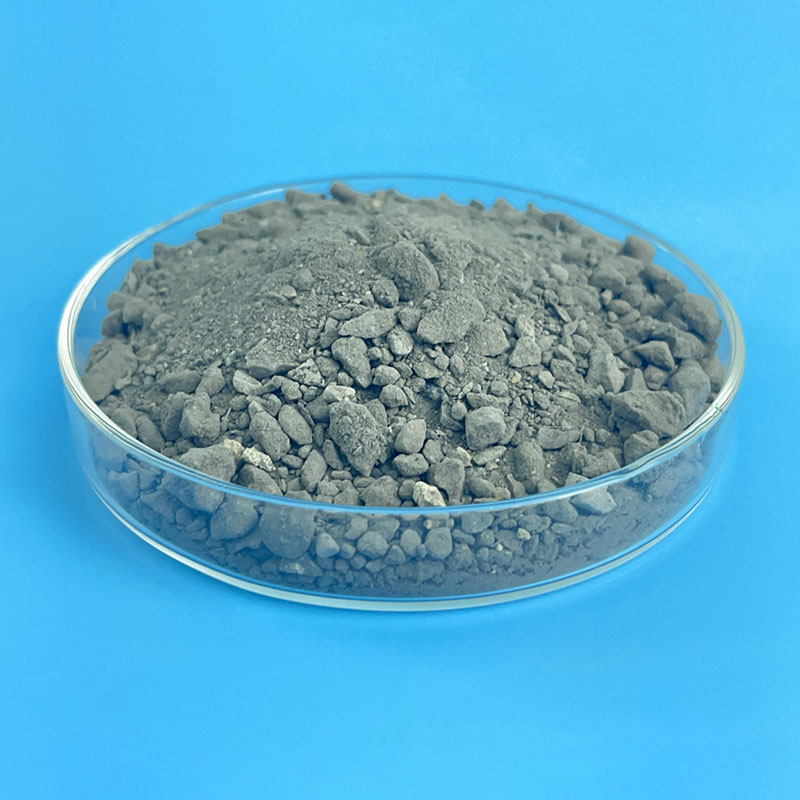
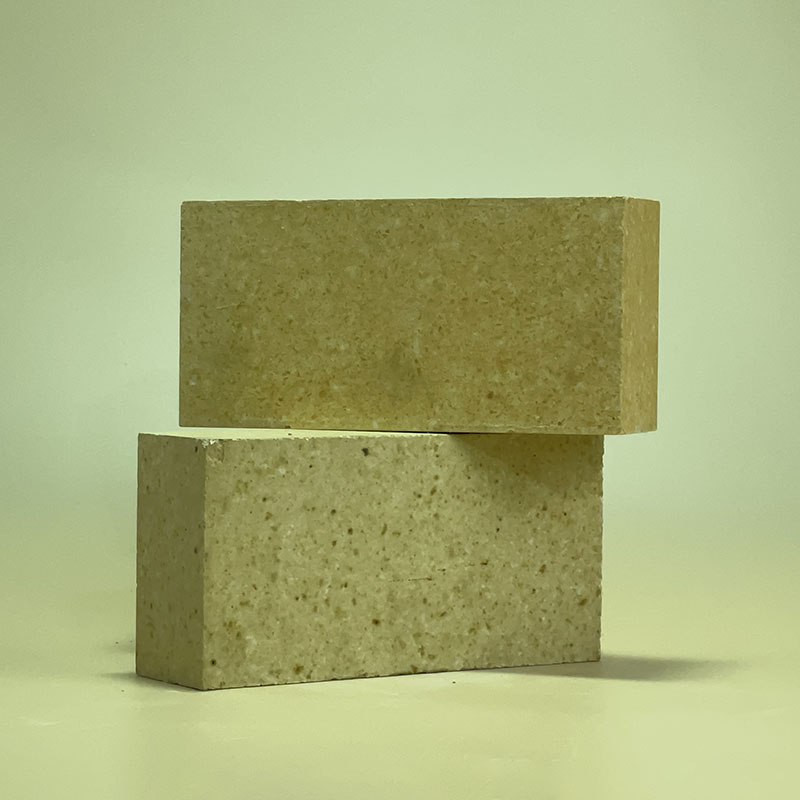
Refractory Cement, Brick: Rutland Fire Clay Black Furnace Cement was troweled into the sink to protect it. Firebrick is sold at masonry centers.
Forge Fuel: Penn Keystone Coal sells clean-burning bituminous and anthracite blacksmith’s coal in 50-pound bags protected by a cardboard box. One pound offers an astonishing 14,373 Btu.
Hood and Vent: Twenty-gauge sheetmetal and a 5-in. galvanized stovepipe formed the forge’s hood and vent. The materials are commonly available at home centers.
After we completed the stand, we riveted sheetmetal into a hood and fashioned a chimney from a 5-ft piece of stovepipe. Then, we troweled refractory cement (the kind used in furnaces and kilns) into the sink. We ran steel and PVC pipe from the drain to the output port on a shop vacuum. The same line would supply air both to the sink (to feed the fire) and, through a Y joint, to another pipe leading into the chimney (to help pull the smoke up and away). We installed a valve to let us direct the air where we wanted it.
We also cut pressure-treated 4 x 4 lumber to make a block for the anvil, then hoisted the anvil onto the block using a tow strap hooked to a ceiling-mounted electric winch. Finally, we hammered 1/8-in.-thick steel flat stock into straps to attach the anvil to its block. Believe me, 15 minutes spent pounding cold steel can convince anybody of the need for a forge.
Now we just had to let the furnace cement cure overnight.
I arrived at Mike’s shop early next morning to find him puttering around, a cup of coffee in hand and another, recently poured, waiting for me on the workbench. "Ready for fire?" he asked.
We carried the forge outside and in a light autumn wind used a propane torch to ignite crumbled shipping paper and kindling split from the pallet the anvil was shipped on. When the fire was bright and hot, we coaxed some coal onto it, and watched anxiously as it gave off a faint, yellow-green, sulfurous smoke. We added more fuel. The fire smoldered stubbornly, but when we turned on our high-powered vacuum, the blast of air knocked our little coal pile out of position. We pushed the smoldering pieces back with a steel bar and tried again, without success.
Mike grabbed an air hose and nozzle from his shop compressor and applied a gentle draft. Now the coal started to glow. We added more fuel, and the smoke nearly disappeared. We turned on the shop vacuum again. With that, an impressive rushing sound came up from the forge, and the center of the coal mound reddened like a stoplight. A few moments later, a bright yellow flame jumped from the fuel, and then a ghostly blue glow took shape above it. As it hovered, the blue light looked like a living thing.
Once the coal was burning well on its own, I took a piece of scrap metal from the shop floor and wiggled the steel into the volcanic fuel bed. A couple of minutes later, we slid the metal out to find that it had merely turned a light shade of blue—still not enough heat. Mike rotated the valve to make the vacuum’s entire air output rush into the fire, feeding the flames. (This is where the old blacksmithing term "full blast" comes from.) We watched in awe as a yellow-white glow took shape in the center of the coal, and the steel was lost in the glare. The light was too intense to look at without shaded eye protection.
A couple of minutes later, I picked up my tongs and withdrew the steel. The end was now glowing bright yellow and spitting sparks—the temperature must have been up around 1900 F. I laid the metal over the anvil’s edge and picked up our 48-ounce blacksmith hammer. A few whacks were all it took to put a neat bend in the bar.
After decades spent struggling with hacksaws and rivet guns, I can’t tell you how gratifying it was to put a hammer to glowing steel and bend it like putty. Mechanical justice was done.
A long day followed as Mike and I practiced the basics of the blacksmith’s age-old craft: bending, flattening, twisting, tapering and upsetting—striking a bar to thicken and enlarge its hot end. We used angle iron to form the best coal-handling tool I’ve seen—a curved fire poker worthy of a shipyard’s smithing shop. And we felt sufficiently emboldened to try our hand at forging a demolition chisel from a 3/4-in.-dia bar of tool steel, a high-carbon material far tougher than the stuff found at hardware stores. We had to let the steel soak in the forge fire three times and swing the hammer for several minutes before it began to yield.
Secure a heated bar in a vise and turn one end with a wrench. If you're twisting stock with a rectangular cross section, place a short piece of pipe over the stock to prevent distortion as you twist.
Heat the end of a bar and place its hot end down on the anvil's face or on the upsetting block that projects from the base, if your anvil has one. Drive the bar into the anvil by striking the cold end. This thickens the hot end, transforming it into a bulbous shape.
Place hot metal over the horn to make a gracefully curved bend. To make a right-angle bend, use the width of the anvil's face.
Lay the bar across the anvil's width to flatten its end. To straighten and flatten a bent bar, lay it across the anvil at an angle.
Low-carbon steel is fine for most projects, but high-carbon, S7 tool steel (pictured) is better for shaping implements that need to hold an edge.
At sundown, we called it quits and let the fuel bed cool into ash. We swept the shop floor and put away our tools for the night, already planning future projects. Teaching ourselves forge construction and basic blacksmithing in two days was a good piece of work. But Mike had plans for a serpentine iron rack to store motorcycle helmets, while I wanted another go at shaping my own tools, designed uniquely for my needs.
That’s how I imagine the Iron Age was launched in prehistory, in a forge like the ones archaeologists have found scattered throughout Africa and the Middle East. Some guy needed a better tool, and figured out a way to make one.
It was dark by the time I dropped into the seat of my car and headed home. As I merged onto the highway and into a traffic jam, I saw the taillights of the cars ahead in a new way. Just for tonight, they didn’t represent a hassle. They looked like a gigantic bed of glowing coals, waiting for its steel.
Roy Berendsohn has worked for more than 25 years at Popular Mechanics, where he has written on carpentry, masonry, painting, plumbing, electrical, woodworking, blacksmithing, welding, lawn care, chainsaw use, and outdoor power equipment. When he’s not working on his own house, he volunteers with Sovereign Grace Church doing home repair for families in rural, suburban and urban locations throughout central and southern New Jersey.
How to Make a DIY Side Grain Cutting Board
Make Your Own Smoker Out of a 55-Gallon Barrel
We Built a Cool Mid-Century Influenced Desk
Start Gardening Early By Building This Cold Frame
How To Make a Box
How To Build This DIY Welding Cart
Make a DIY Cigar Box Florescent Rock Display
Say Goodbye to Your Boring Bookcase
Make a Simple Hardwood Cutting Board
Classic Popular Mechanics DIY Christmas Displays
How to Make a Simple, DIY Wireless Fast Charger
How To Build a Backyard Fire Pit
A Part of Hearst Digital Media
We may earn commission from links on this page, but we only recommend products we back.
Silica Refractory Brick ©2023 Hearst Magazine Media, Inc. All Rights Reserved.